Stone Wash Flake Floor System with Epoxy and Polyaspartic Top Coat

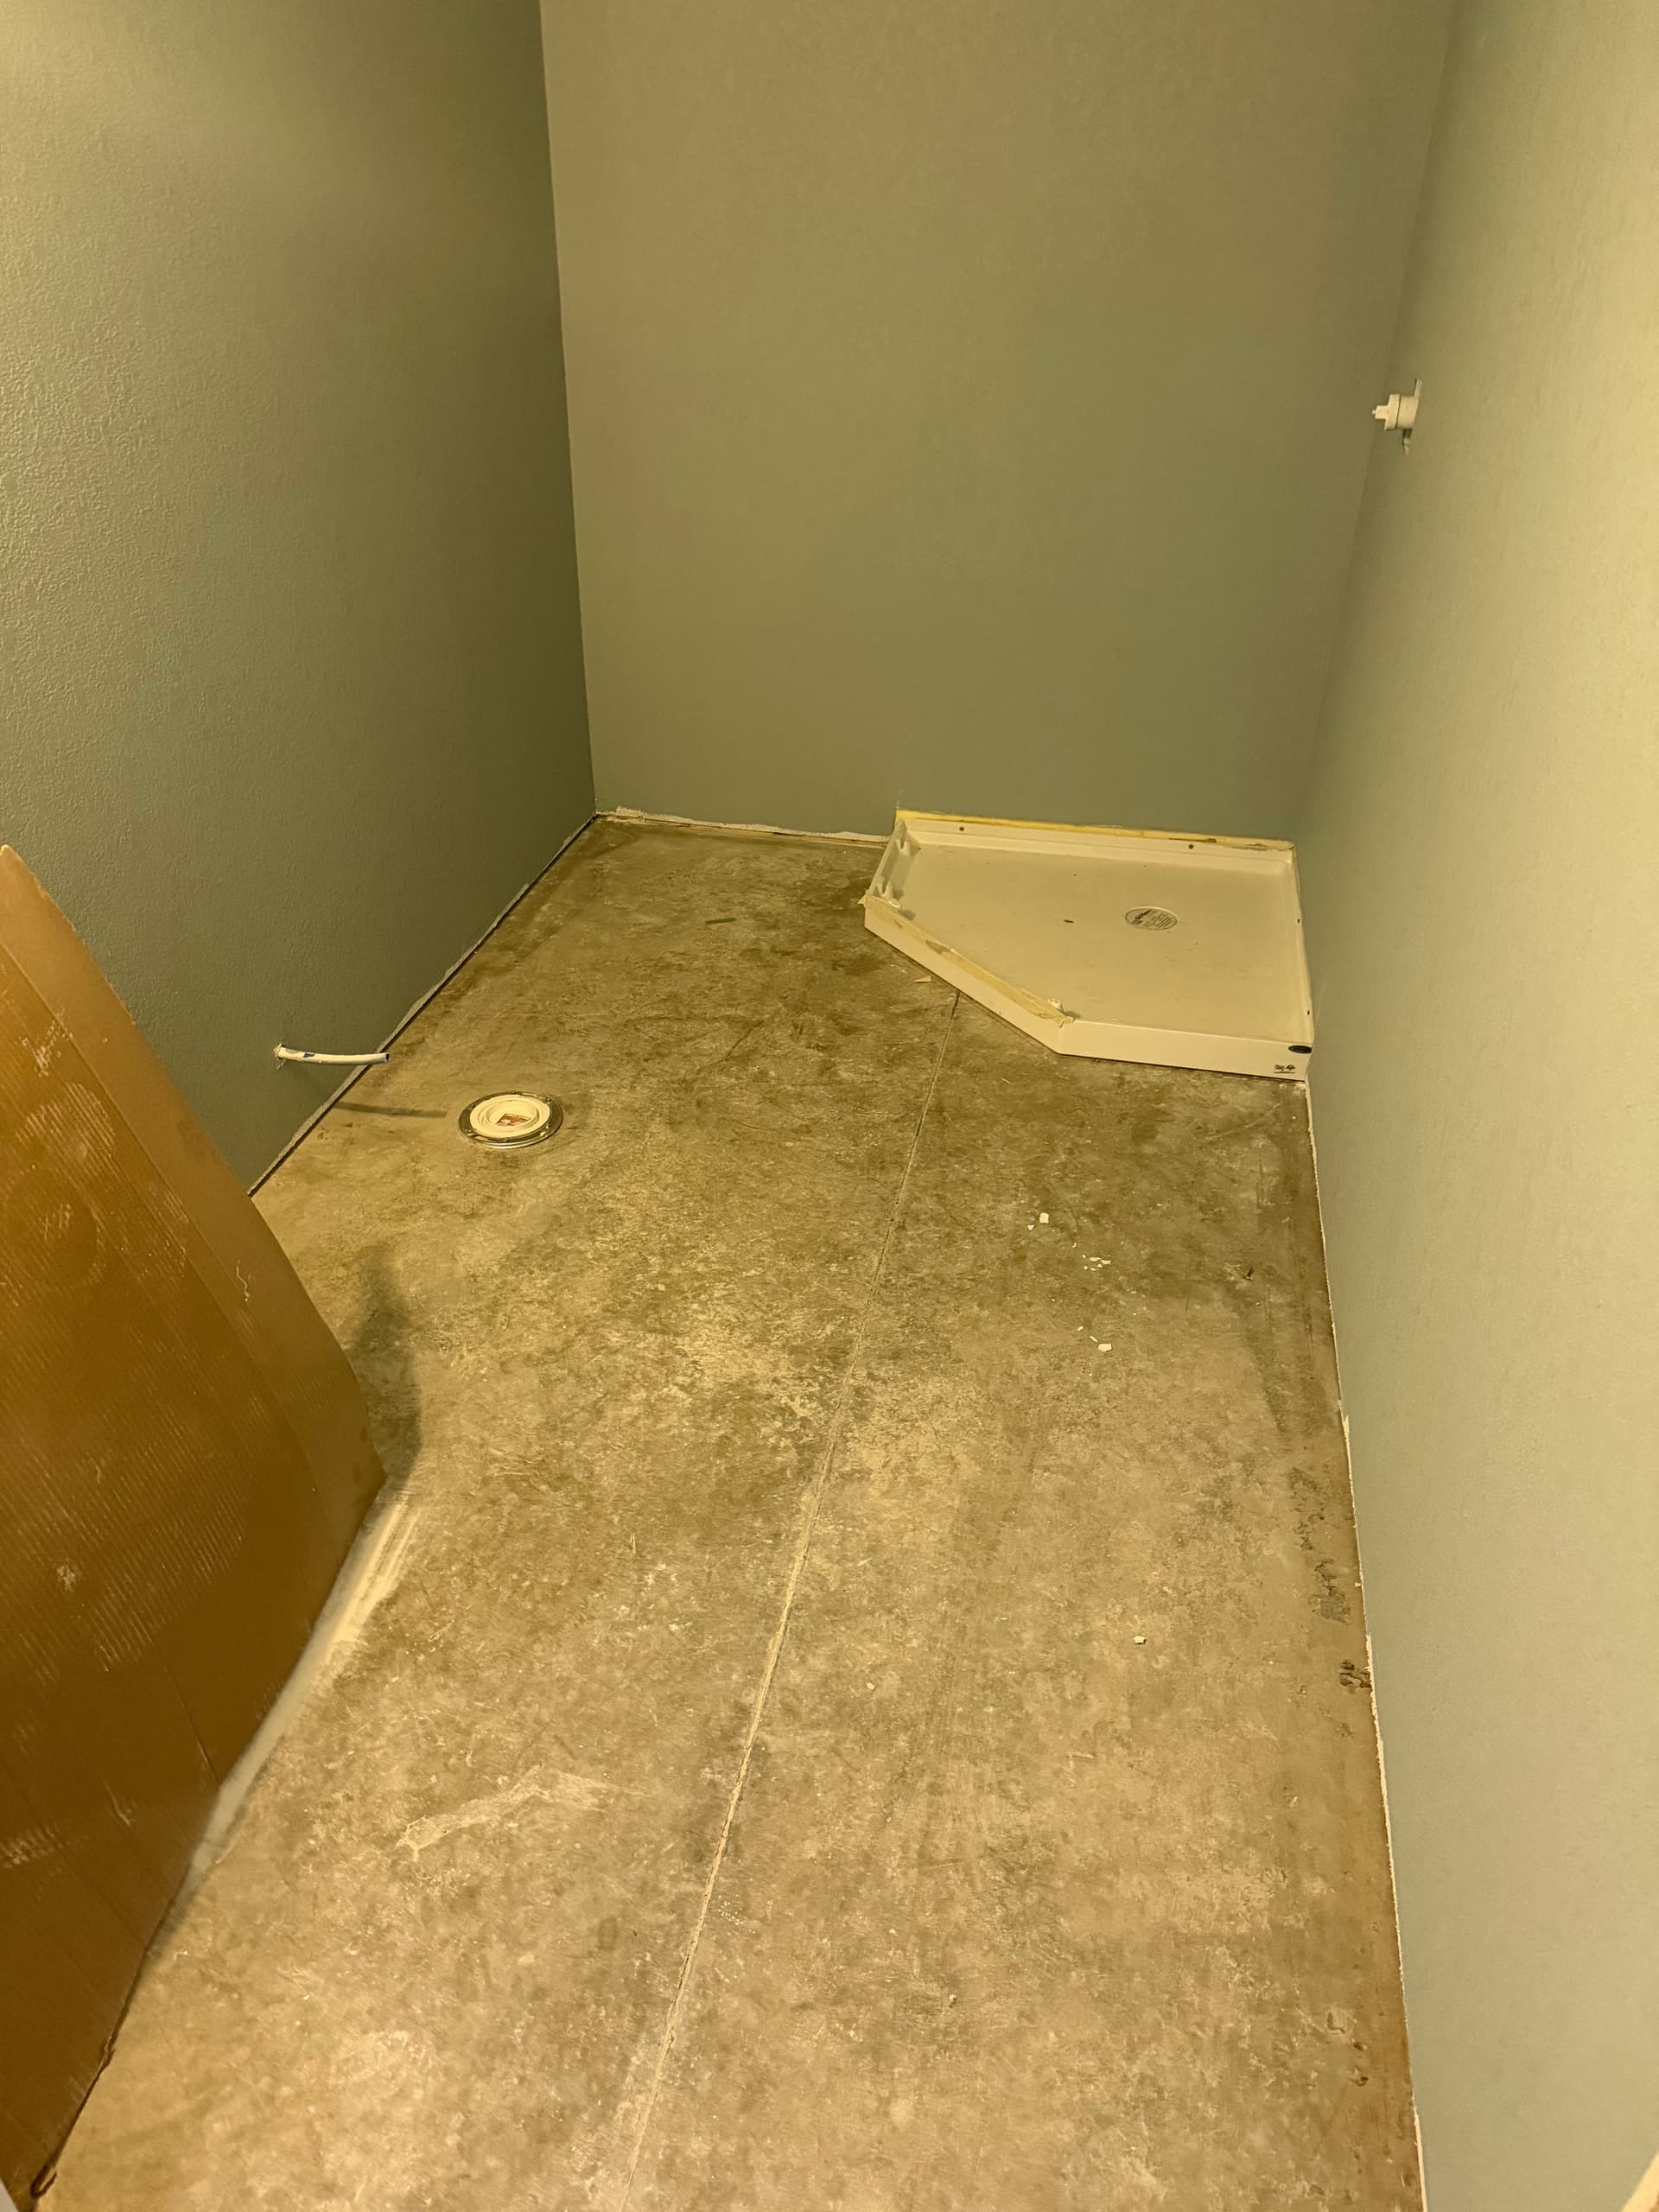
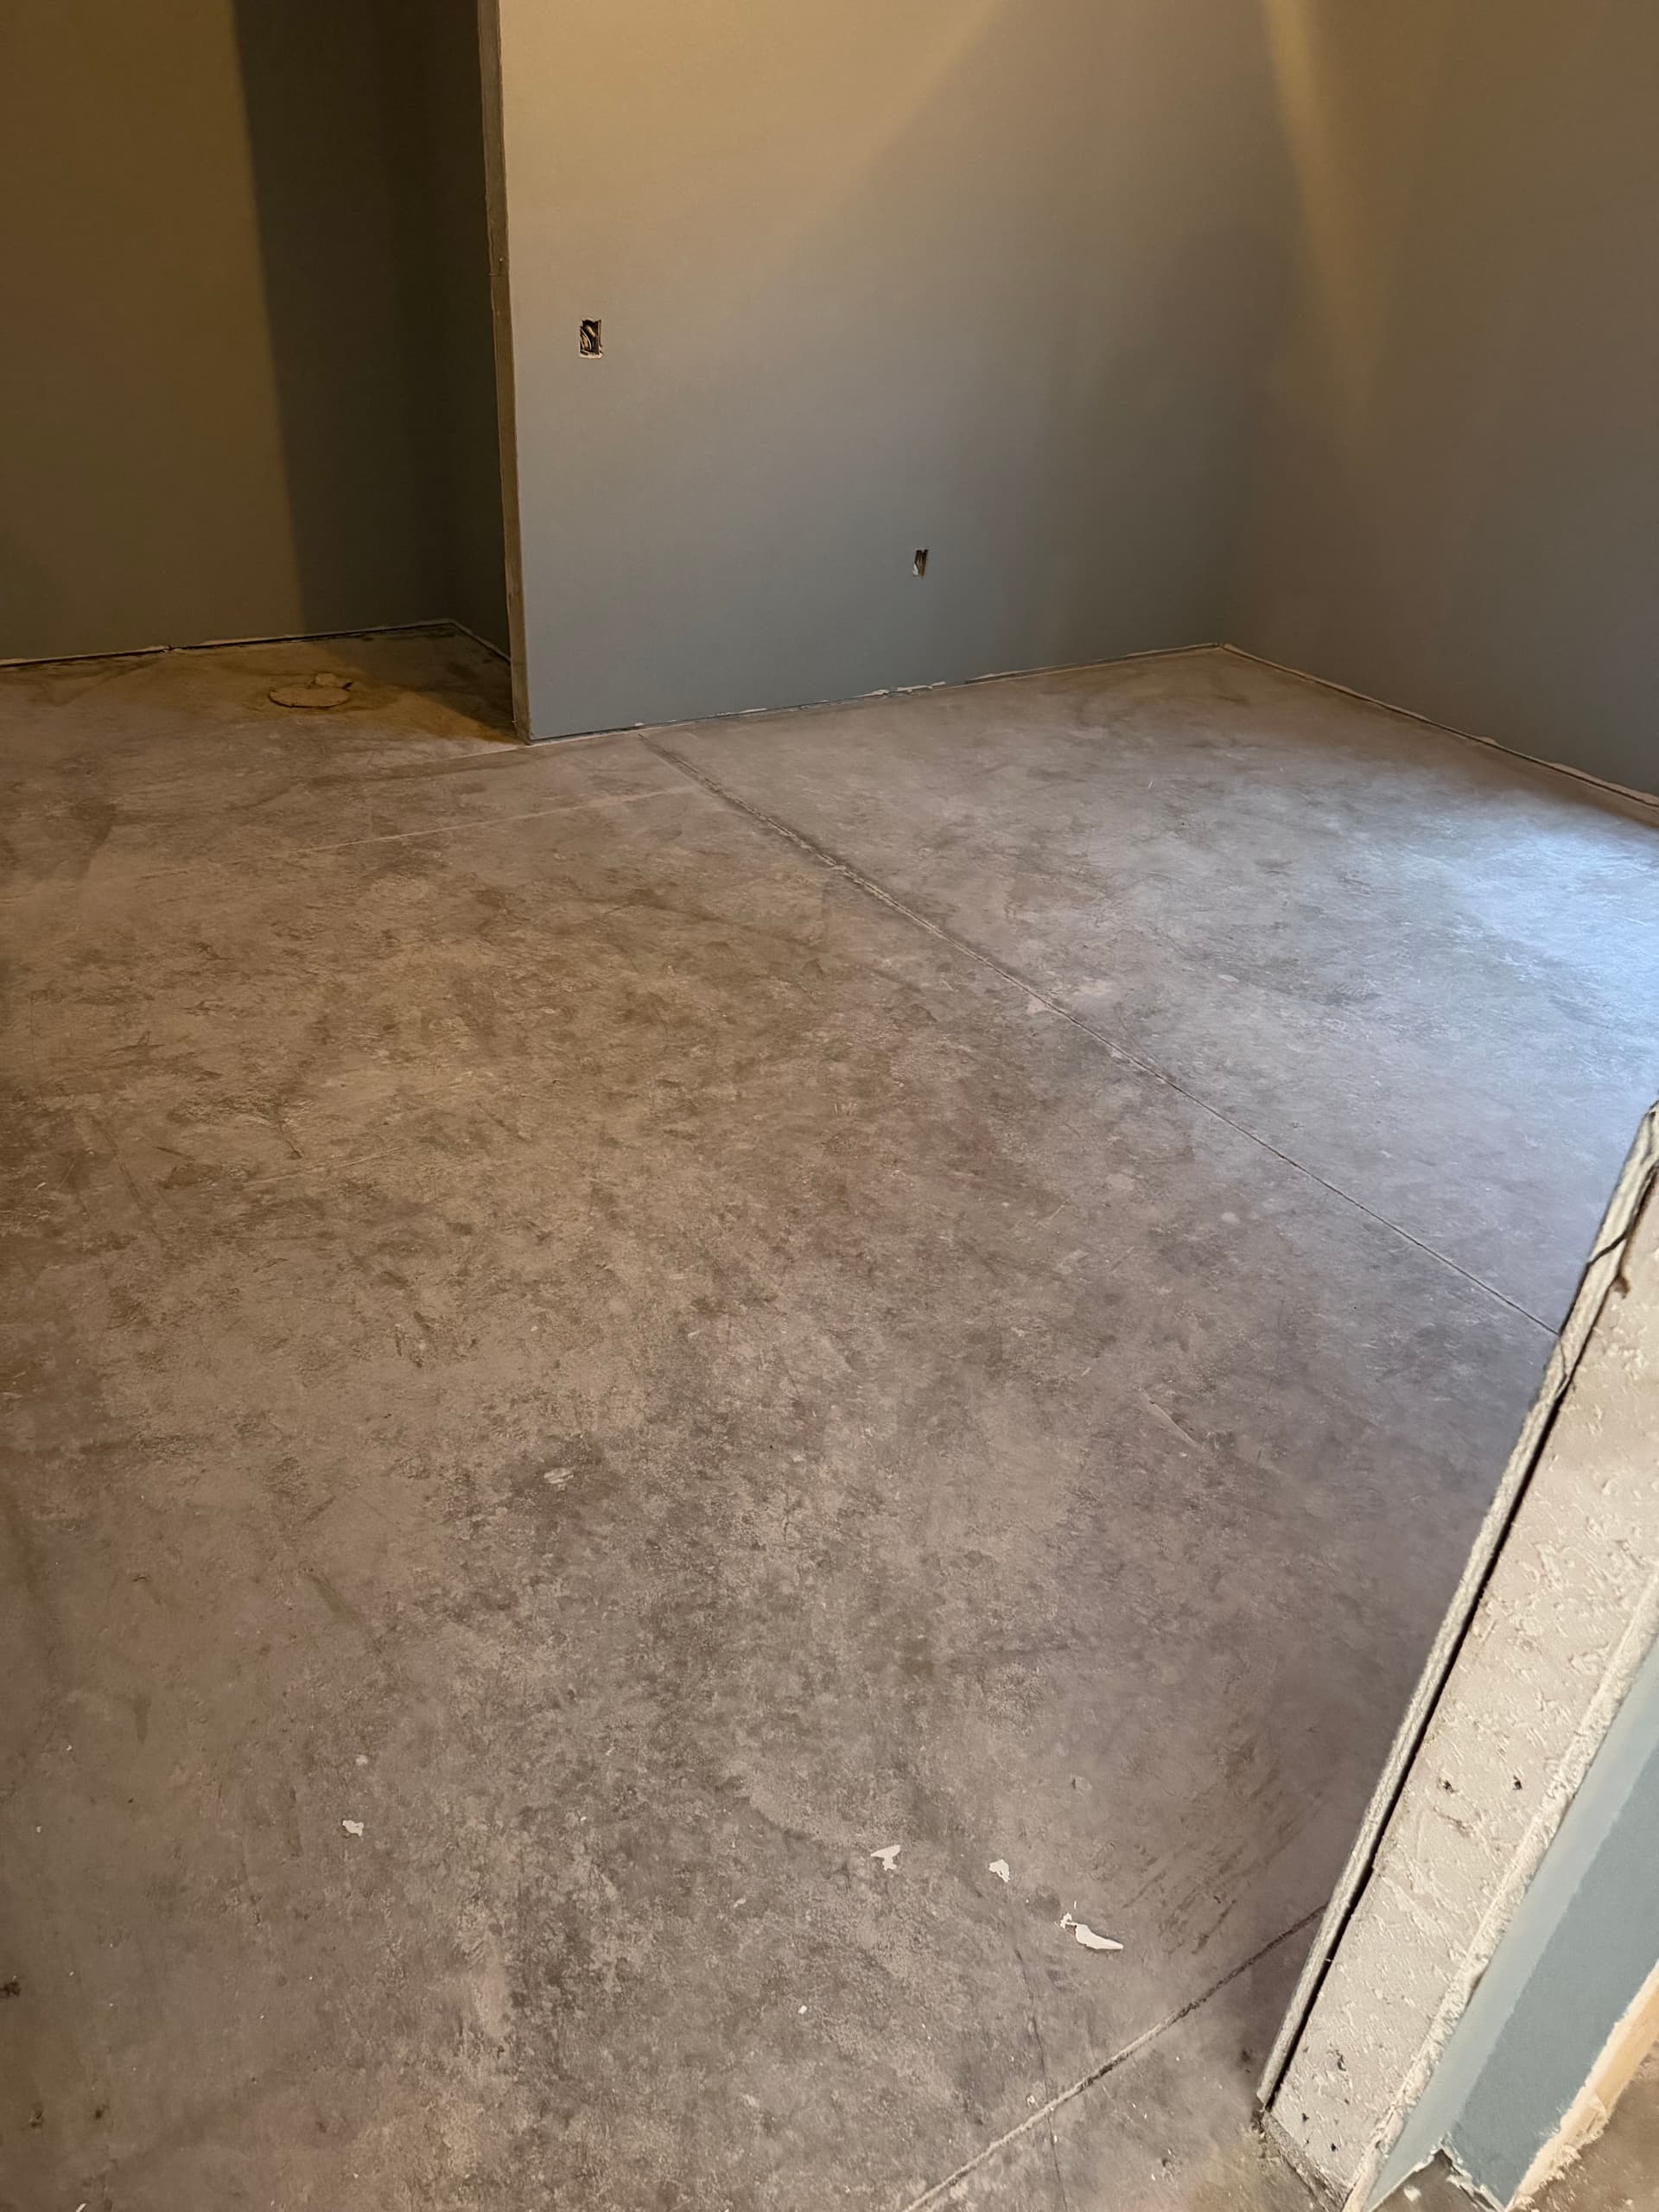
Here's what we were working with - bare concrete slabs across multiple rooms, stained and scuffed up from years of use. Control joints running through the floor, surface contamination throughout, and a few tricky spots around floor drains. Not a bad starting point, but definitely a floor that needed serious attention before any coating could go down.
Prep is everything with a flake floor system. We're not just rolling product onto raw concrete and calling it done. The slab has to be clean, sound, and properly profiled so the 100% solids epoxy base can actually bond. Skip that step and you're just putting a good-looking coating on a bad foundation - it won't last.
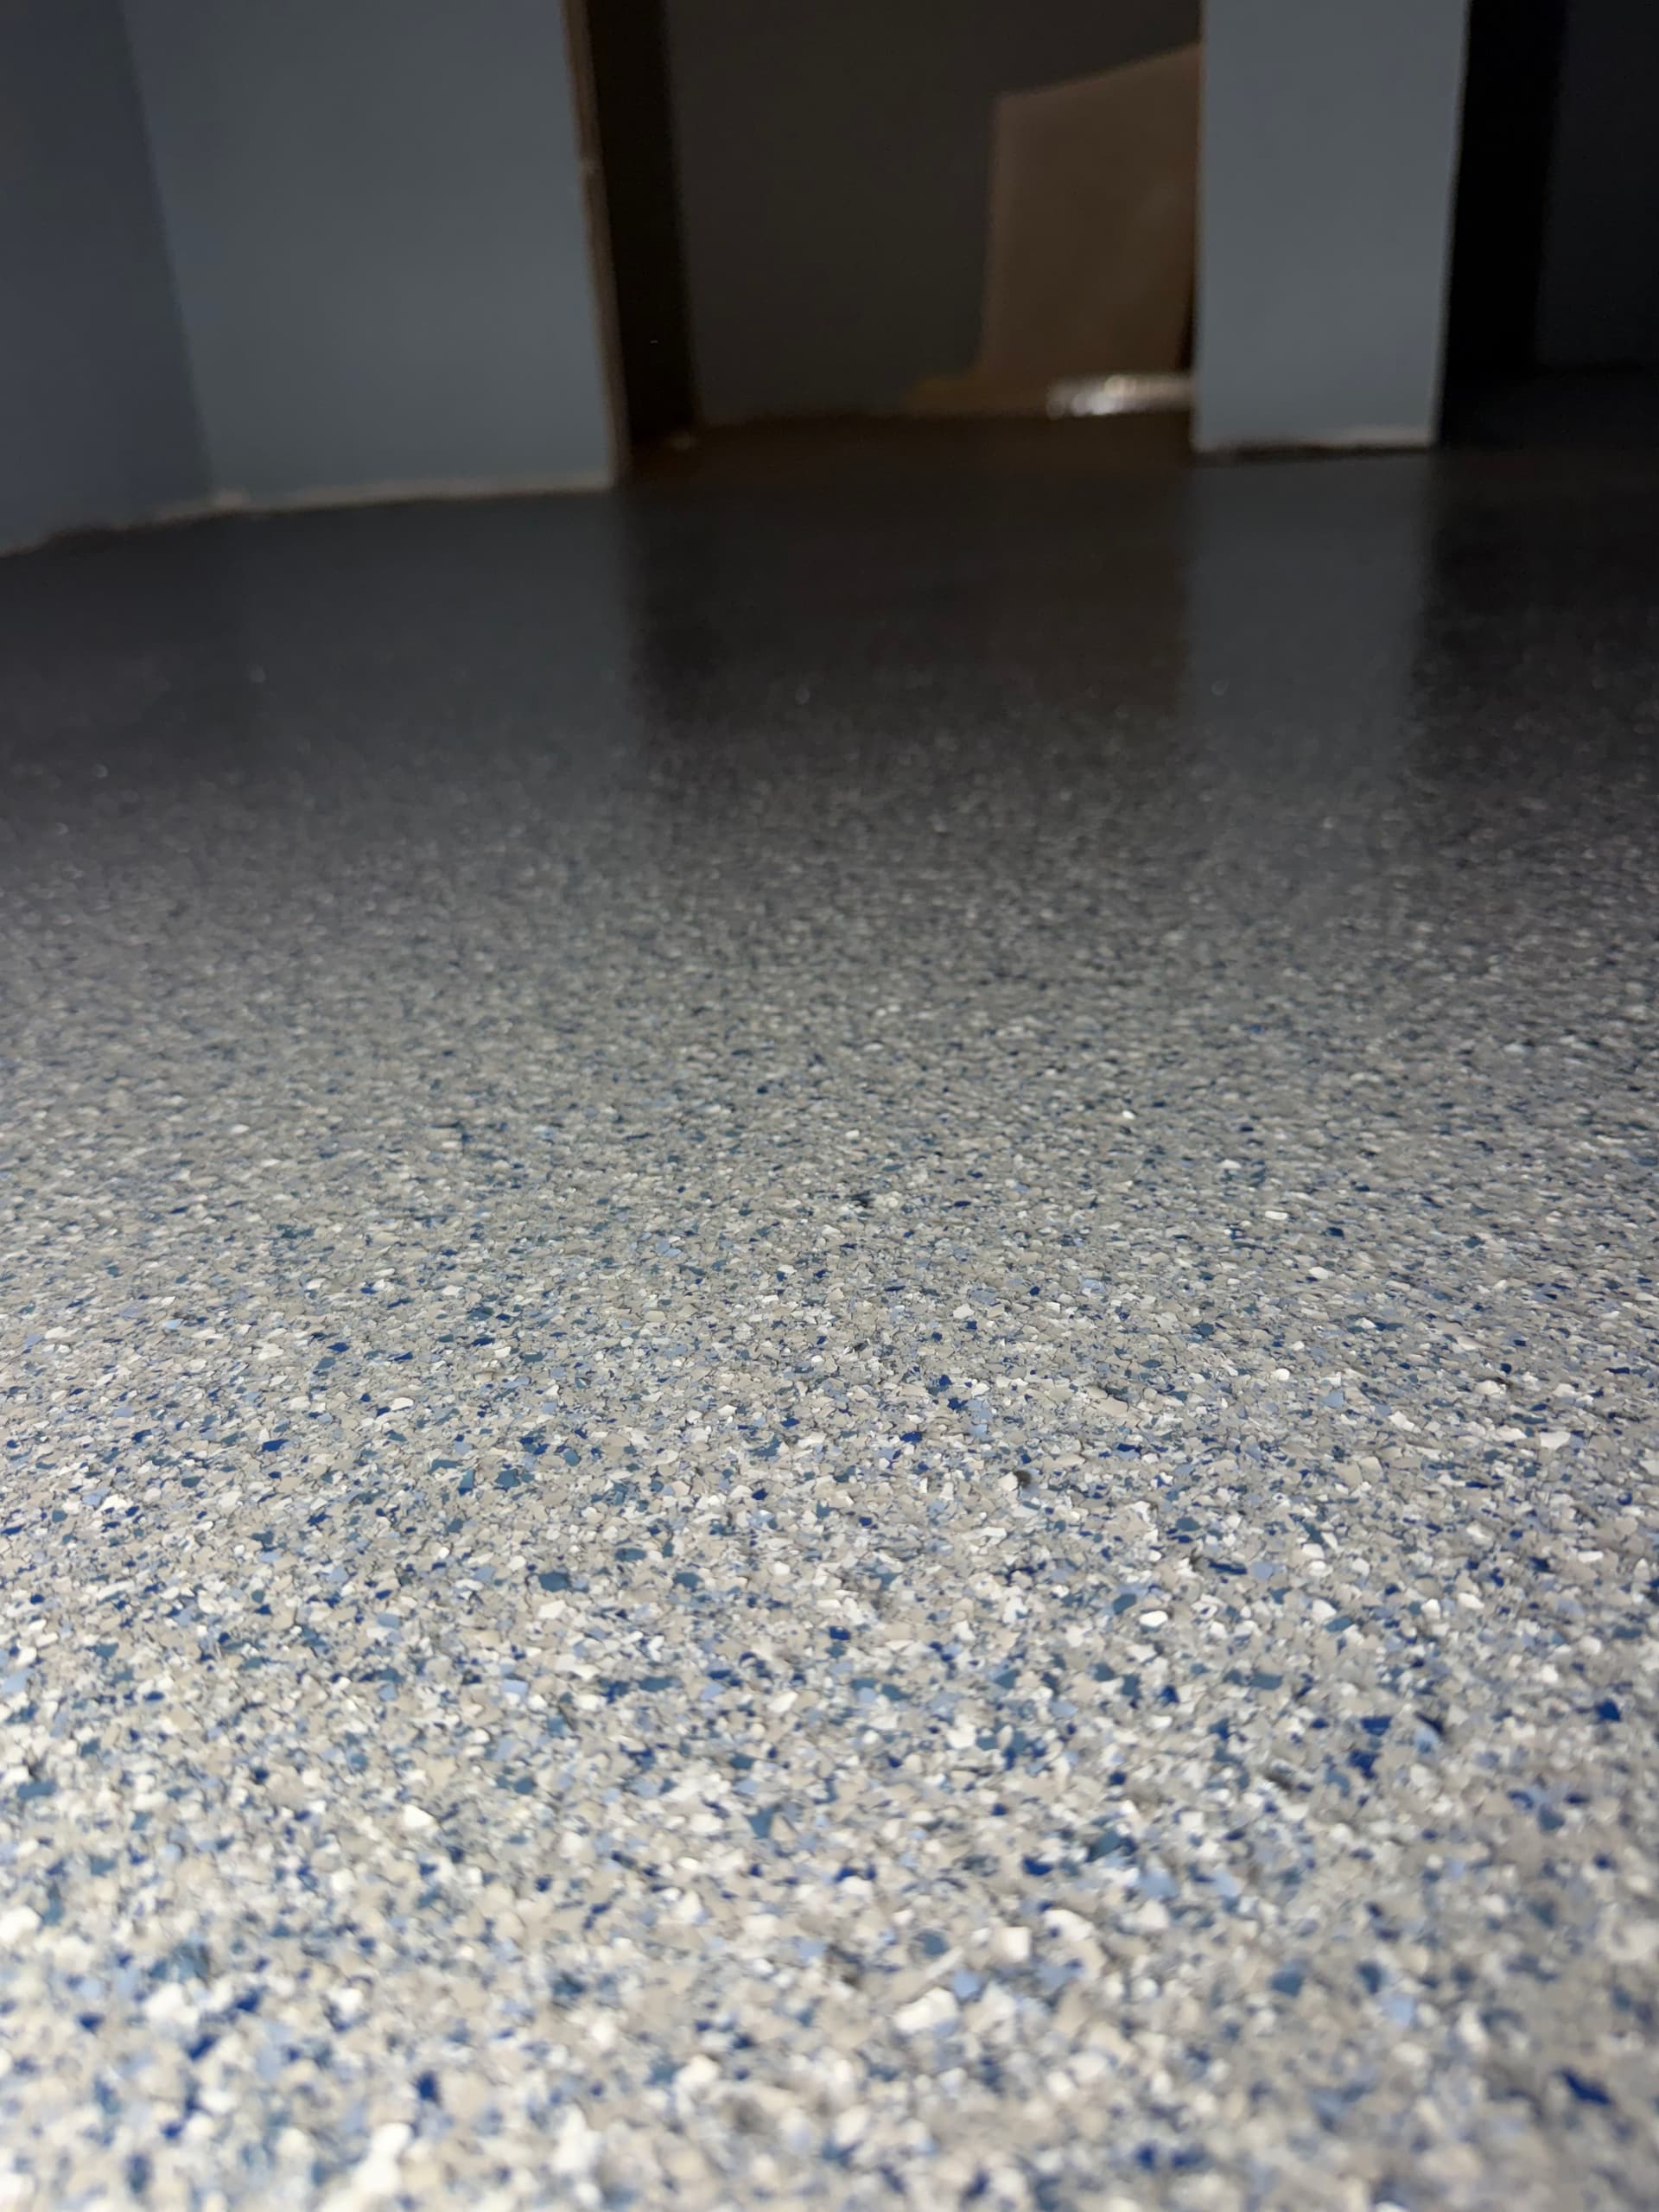
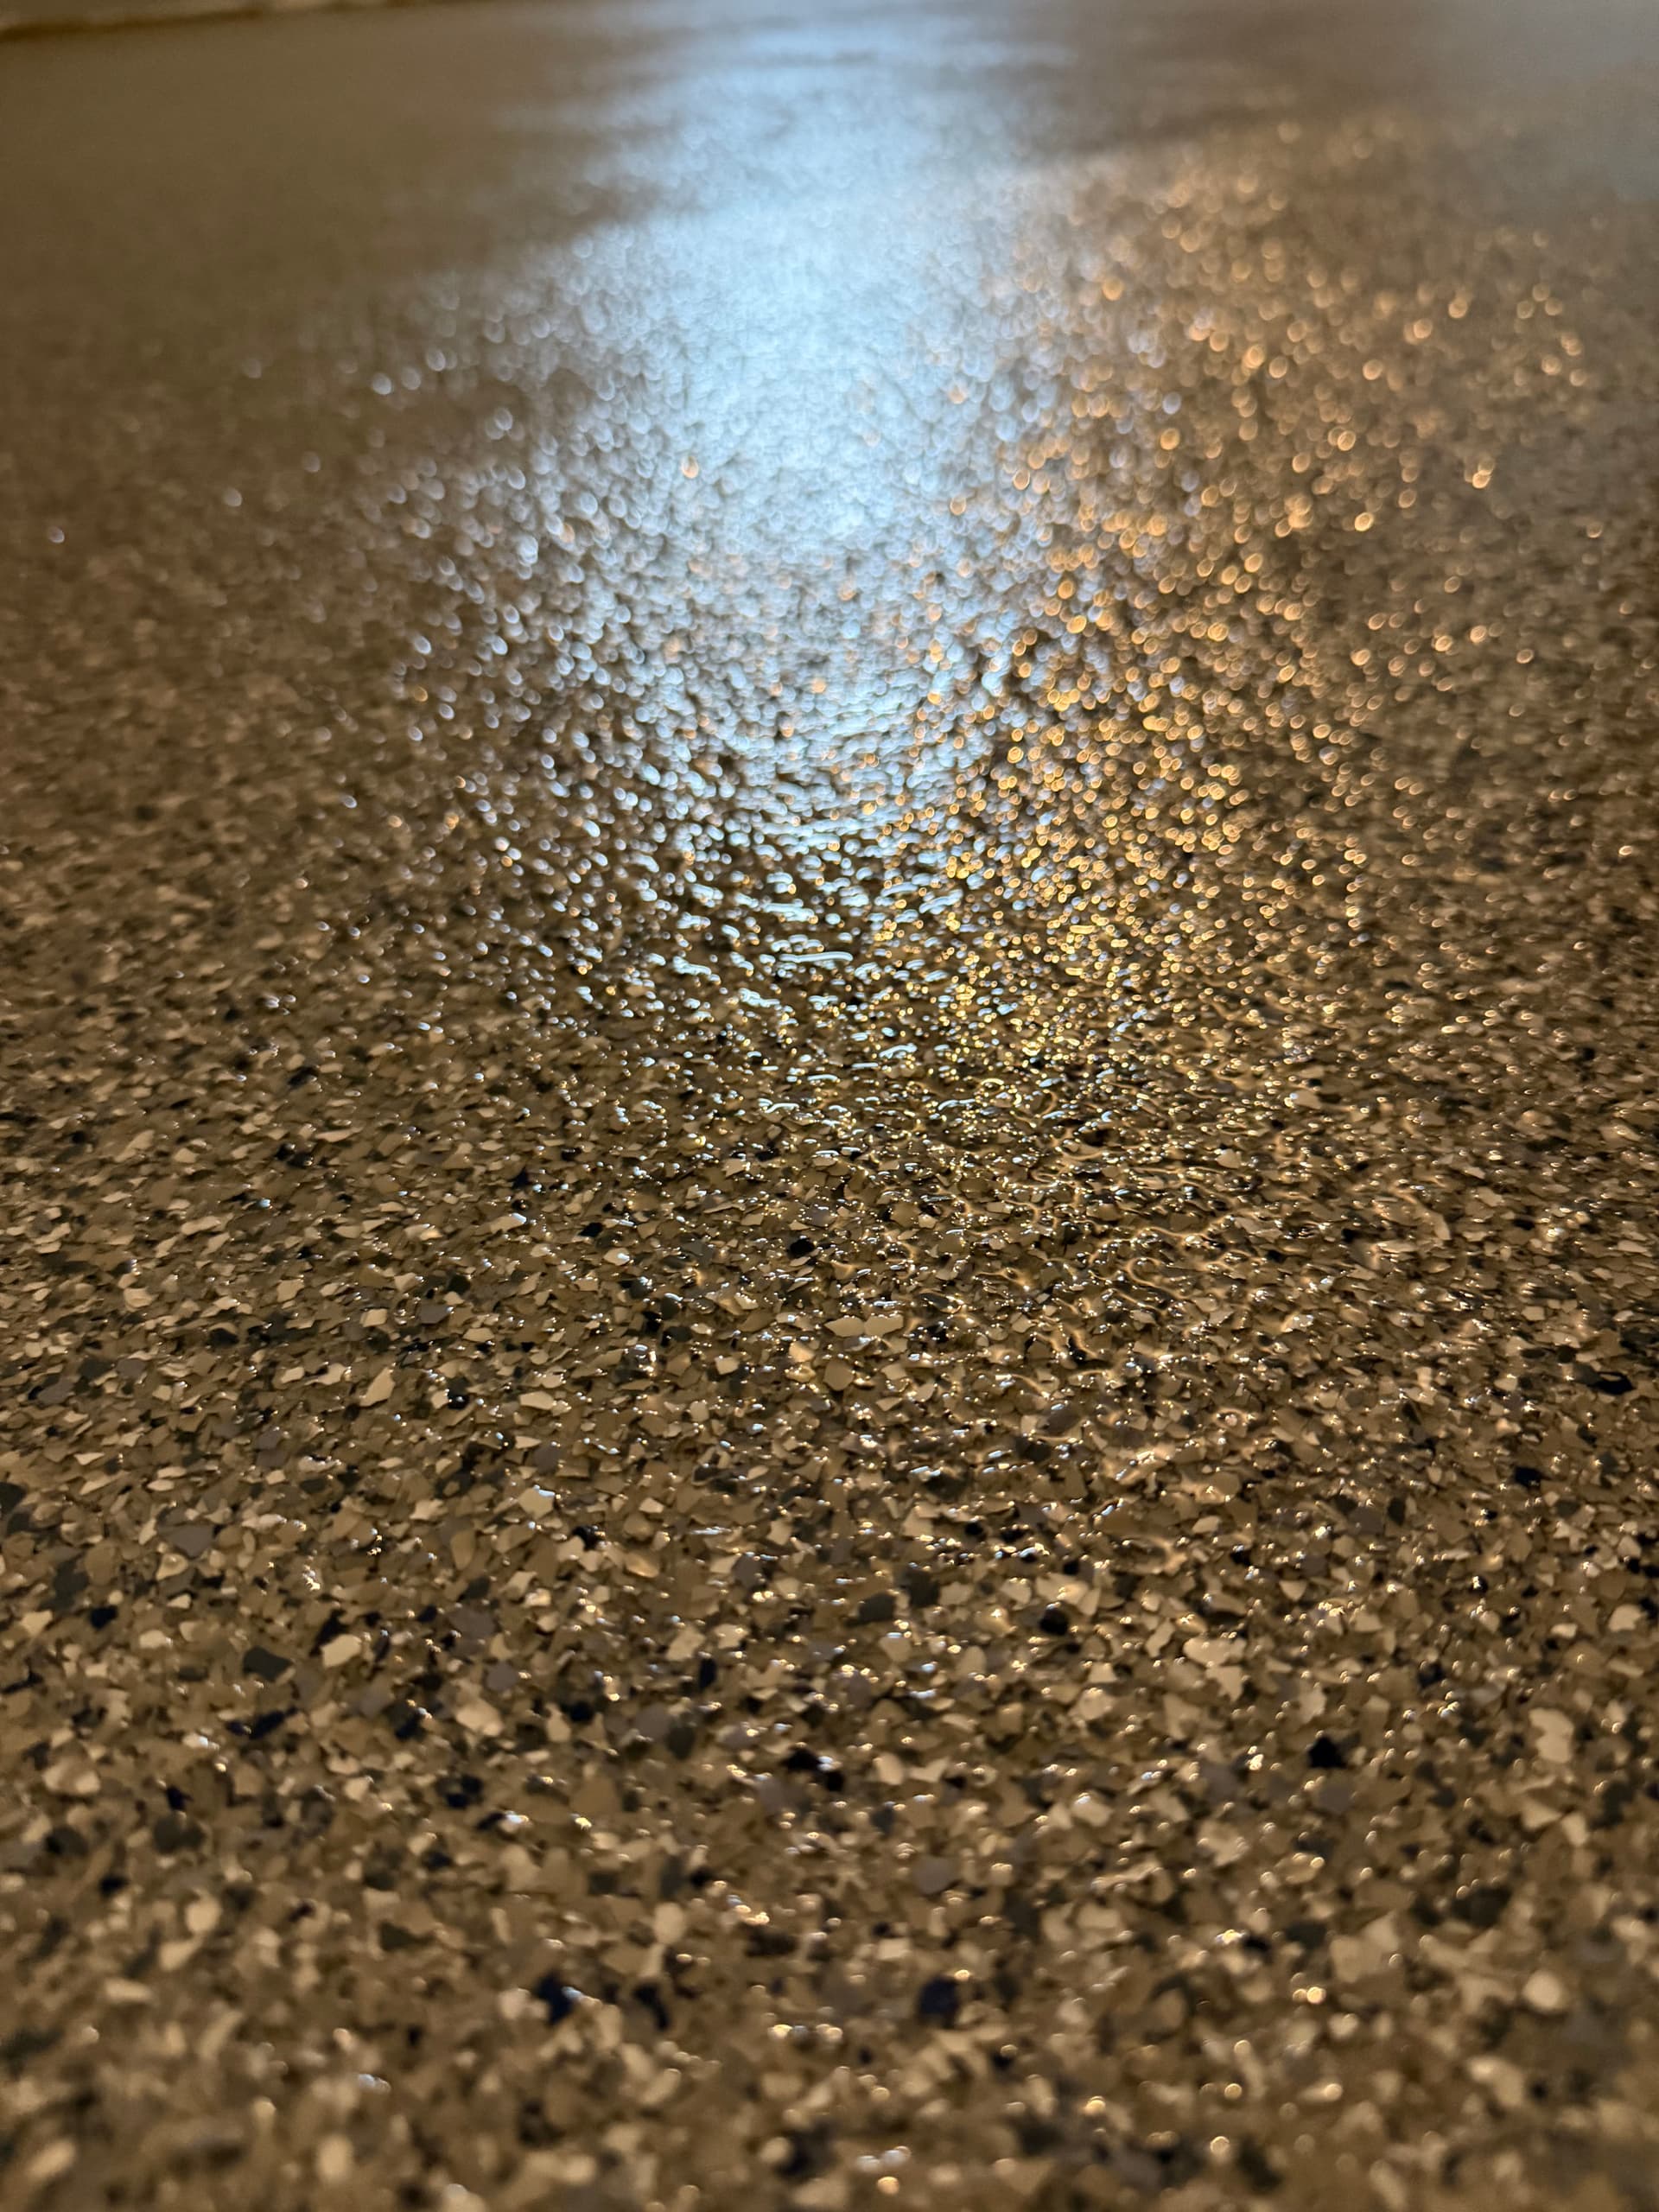
Once the prep was done, we applied the 100% solids epoxy base and broadcast the 1/16" stone wash color blend into the wet epoxy. That color is a sharp mix - gray, white, and blue flake that gives you that clean, high-end look without being flashy. After the flake locked in and cured, we sealed everything with a polyaspartic top coat. That's the layer that gives you the gloss, the scratch resistance, and the long-term durability you need in a high-traffic space.
The polyaspartic top coat is worth talking about for a second. It cures faster than a standard urethane, holds up better under UV exposure, and delivers a harder, more chemical-resistant surface. It's the reason the finished floor has that wet, reflective sheen - and it's the reason that finish will still look good years from now. That combination of 100% solids epoxy plus polyaspartic is one of the most durable floor systems we install.
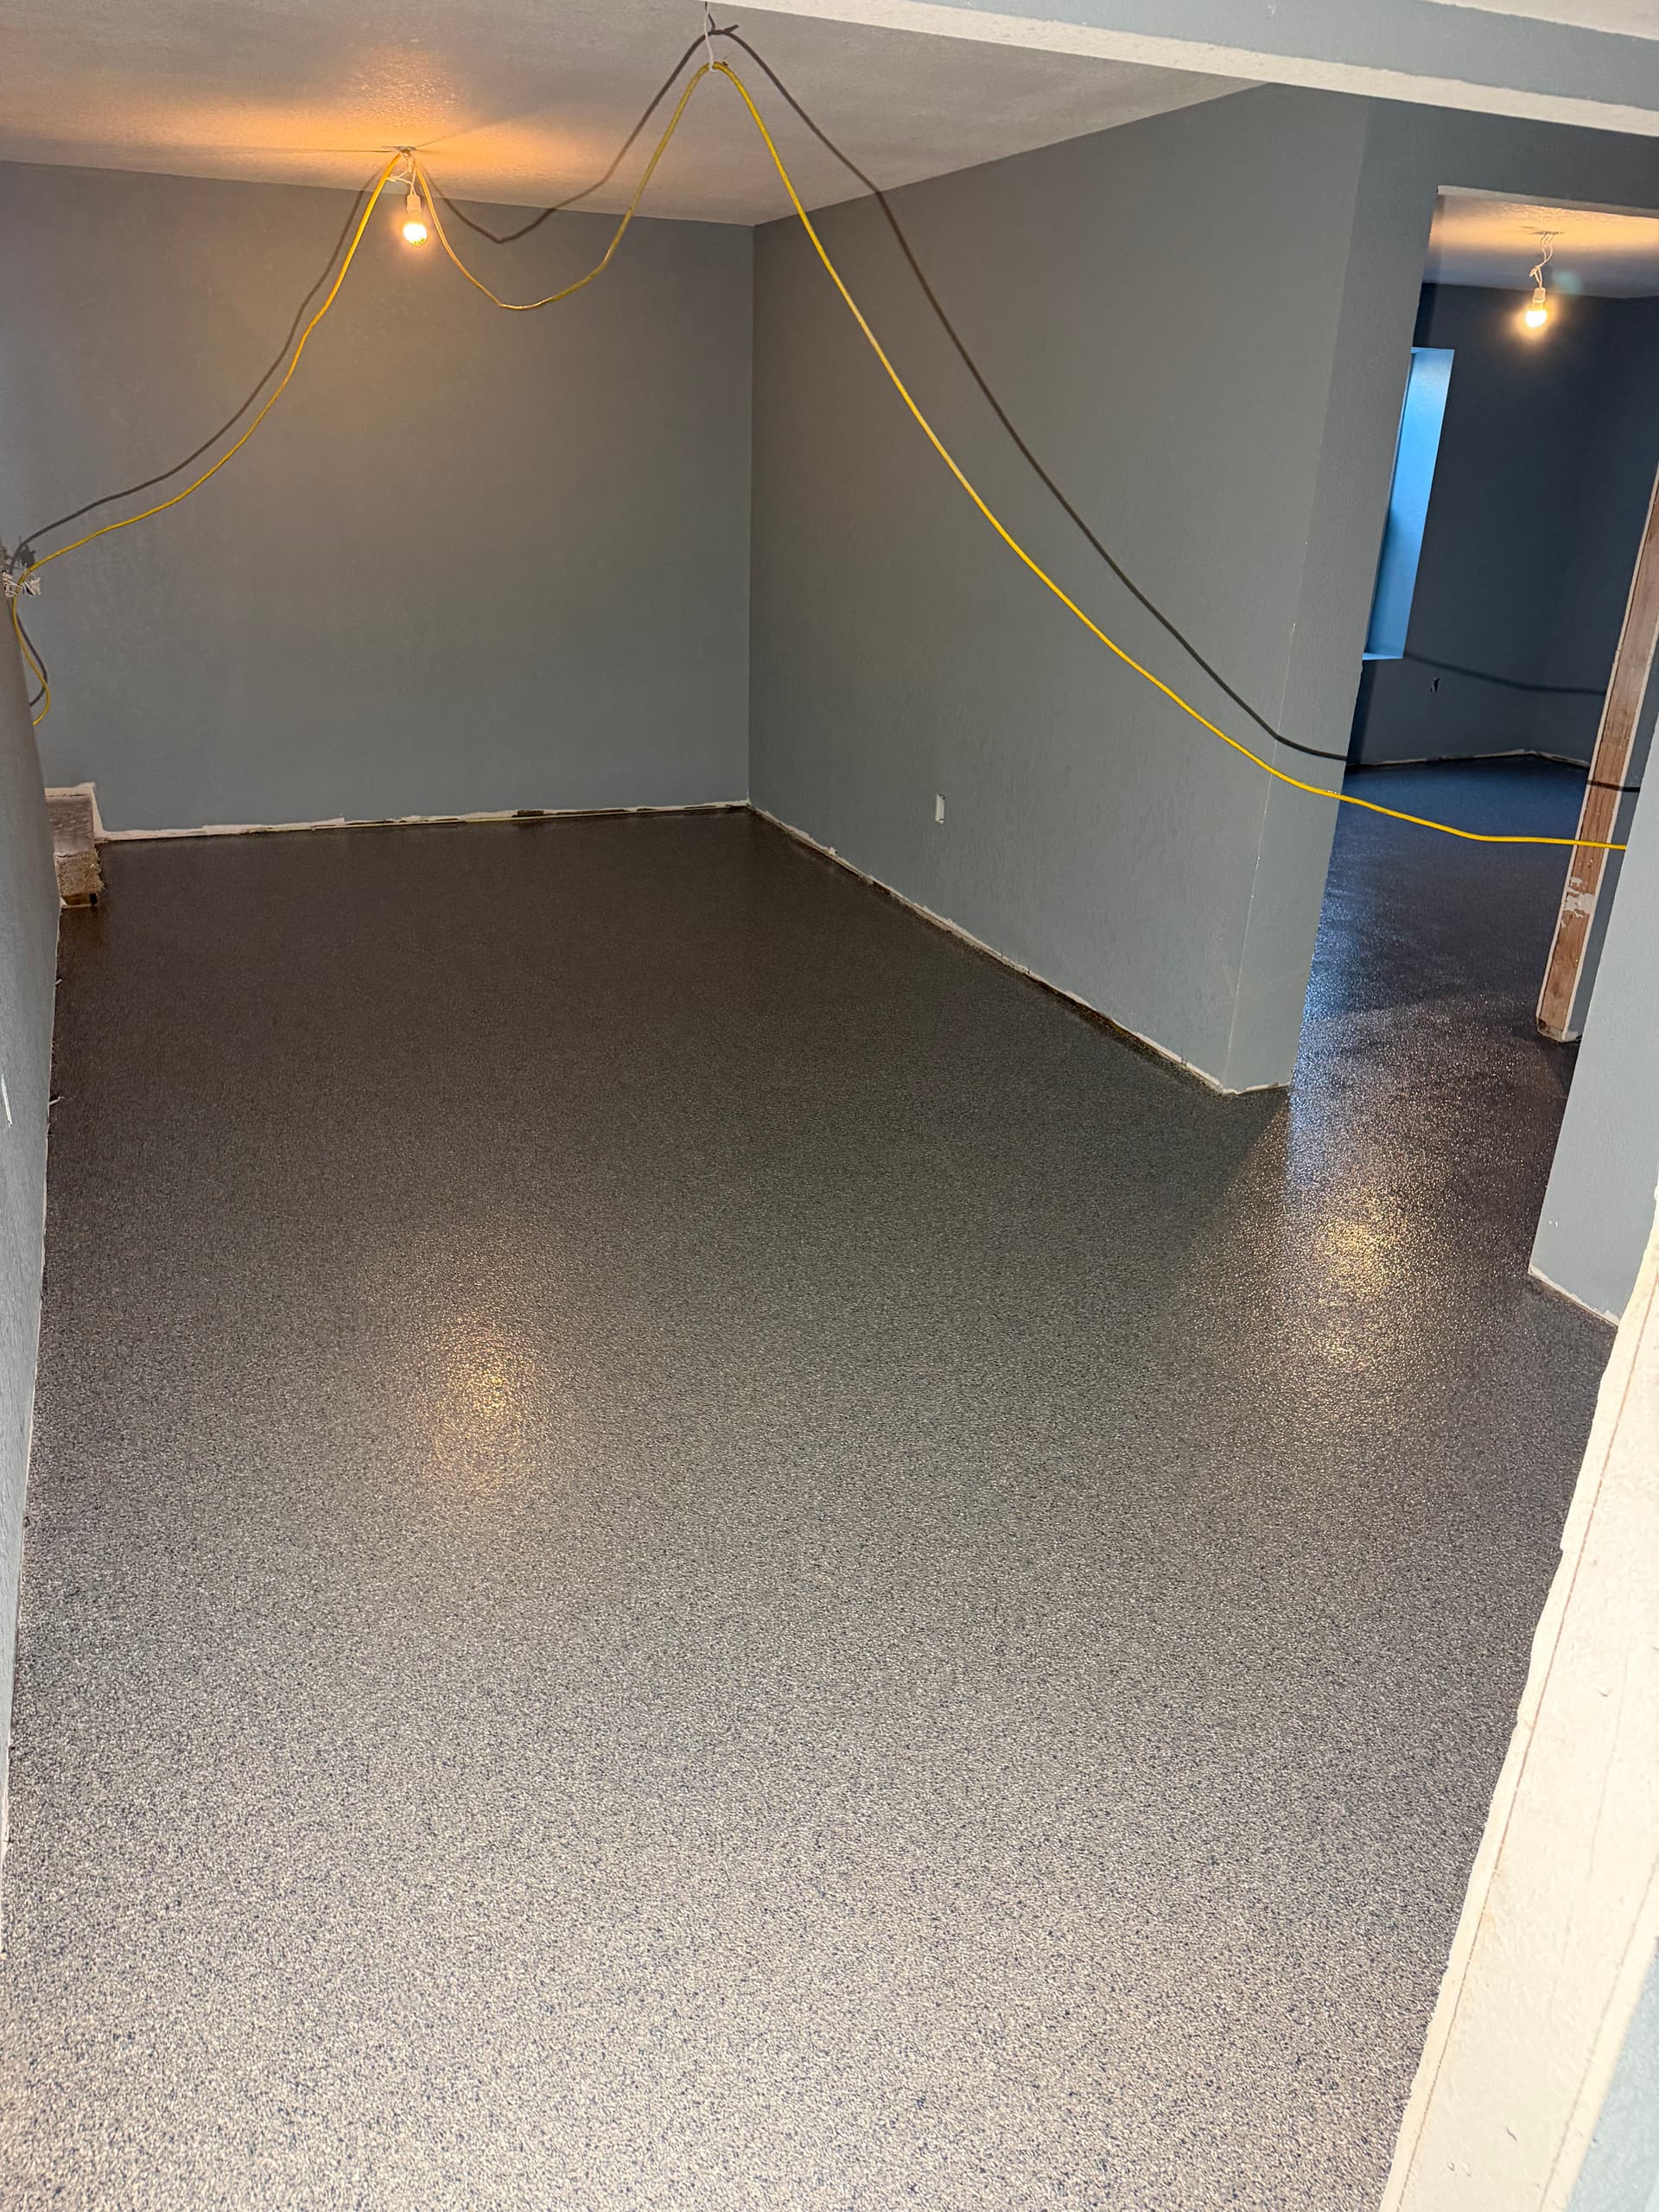
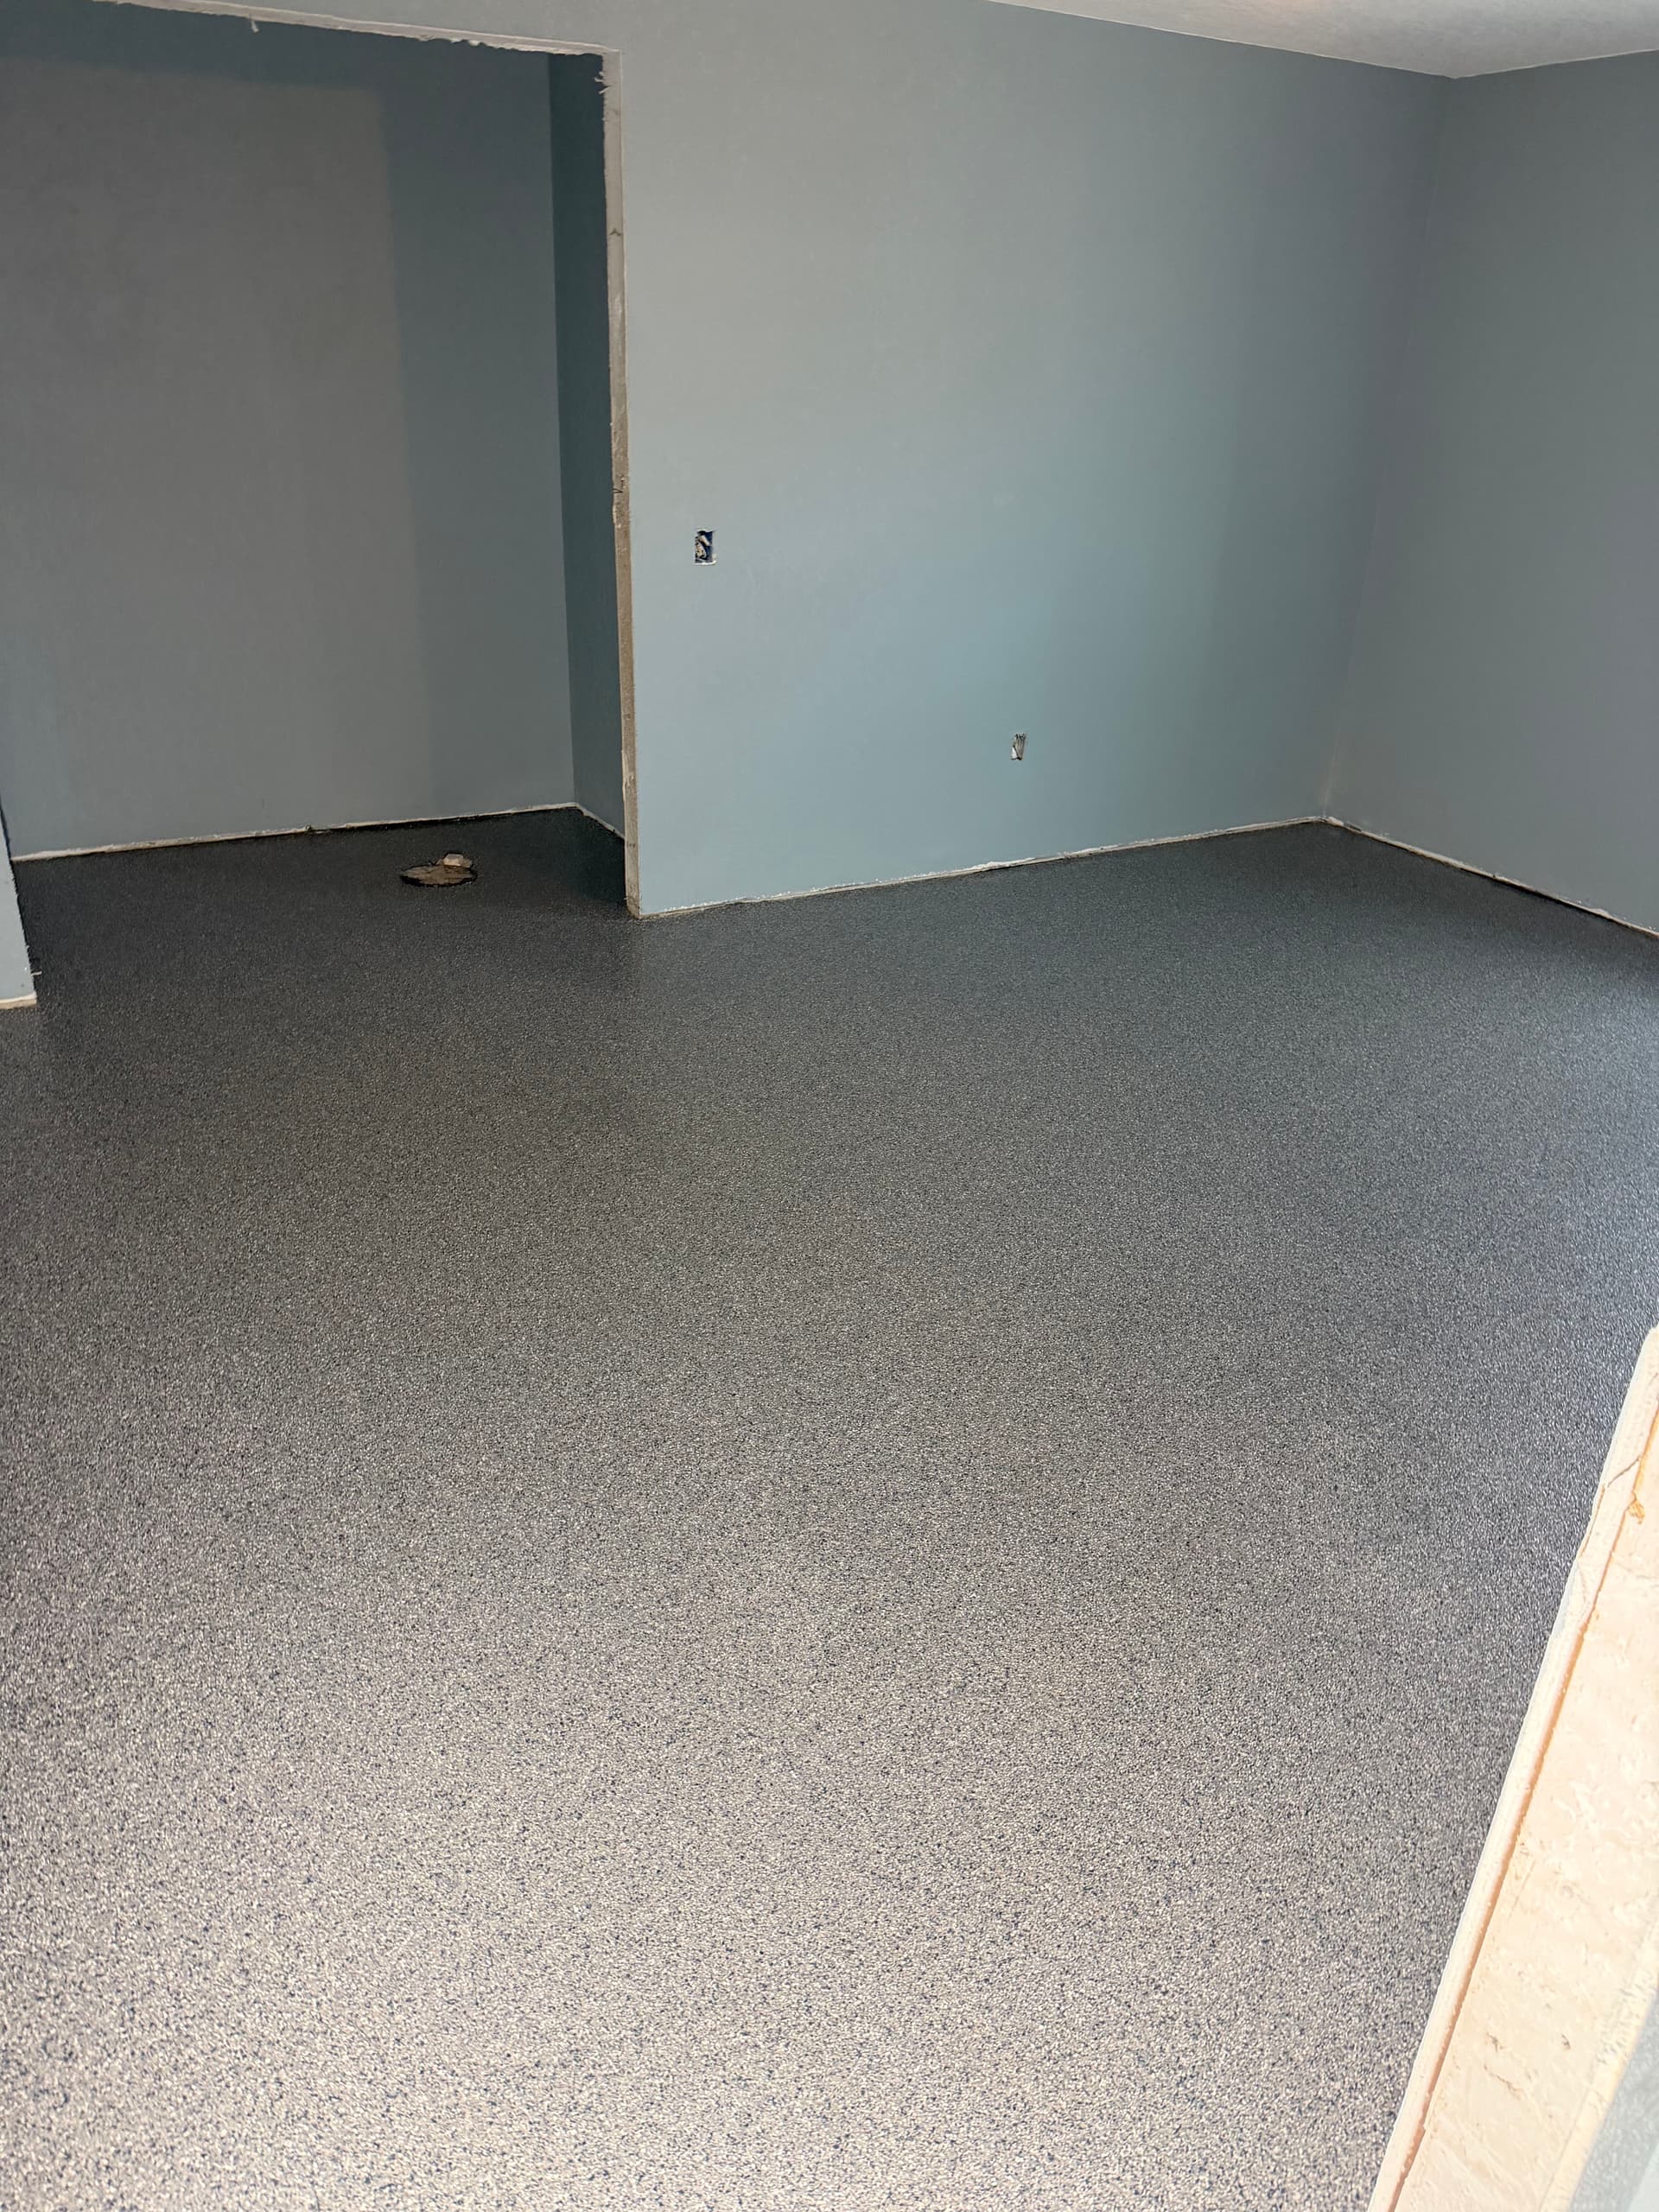
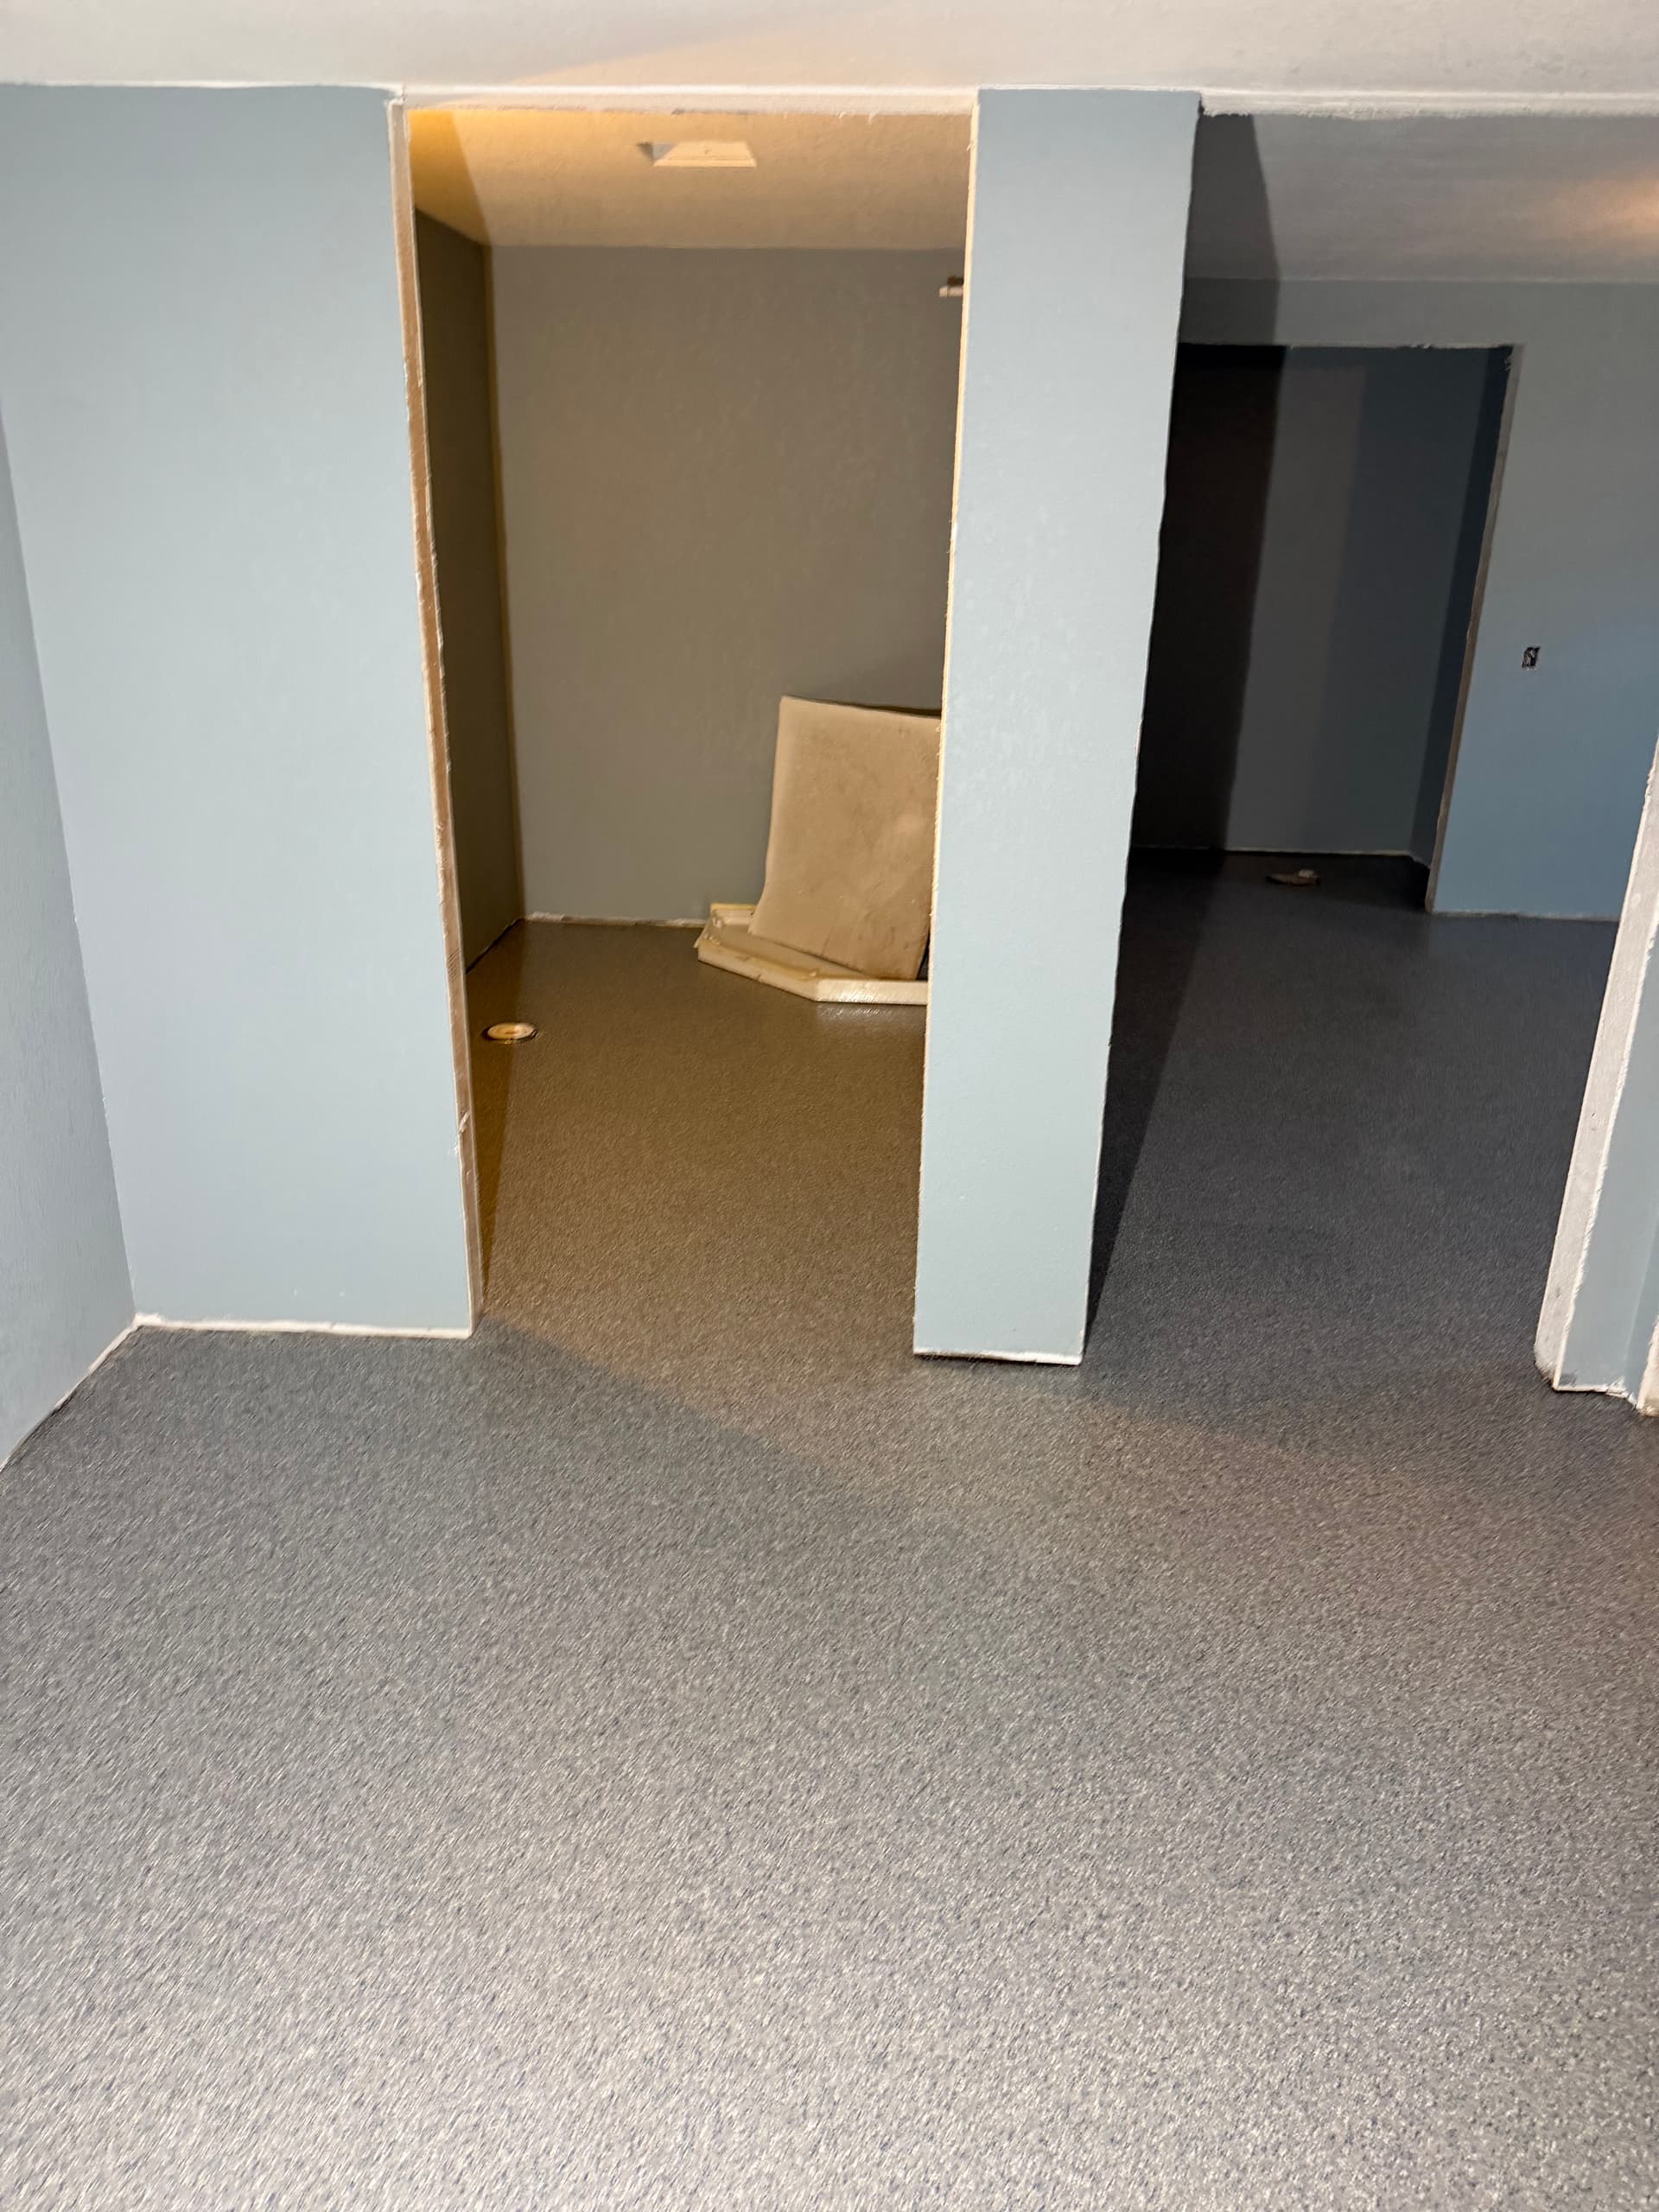
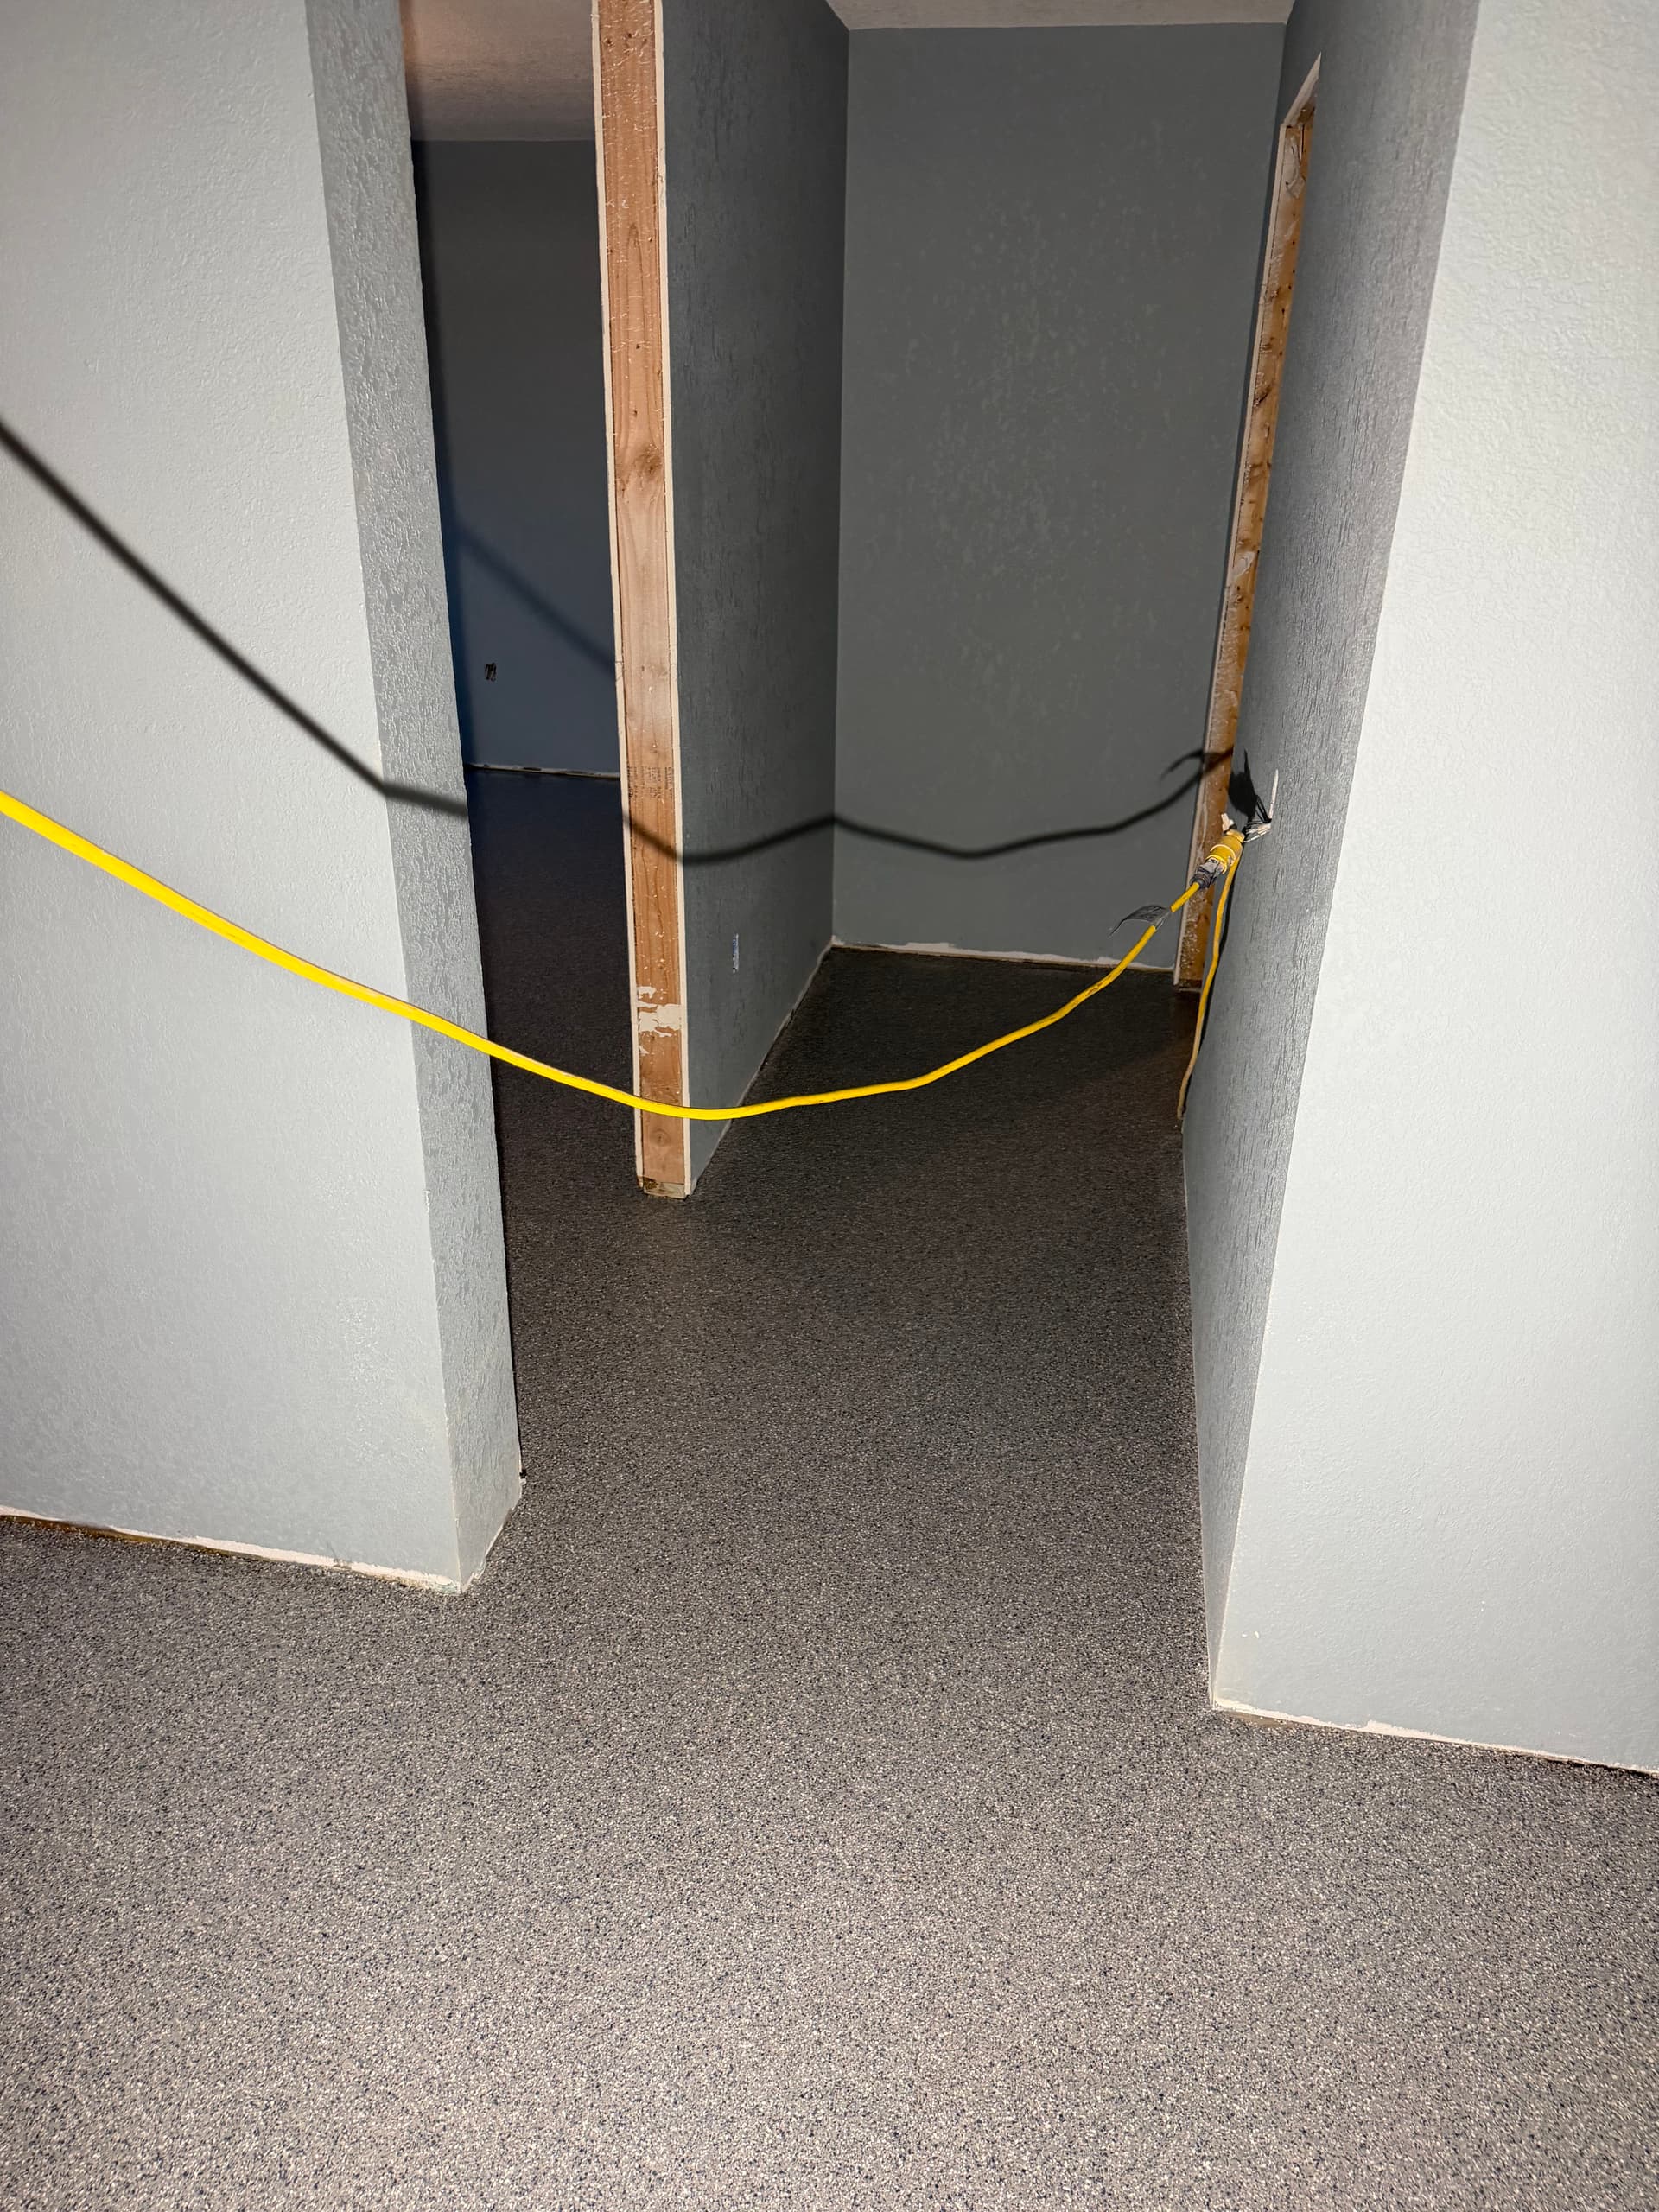
The finished floor runs seamlessly through the rooms and hallway, tight to the walls and around every obstacle. No peeling edges, no missed spots. Just a consistent, smooth surface that's ready to take whatever gets thrown at it.